
How to Make Lace Closures Look Natural: 10 Game-Changing Tips
The secret to making your lace closure look like real hair growing from your scalp is all about prep work and strategic customization. Here's the honest truth: a fresh lace closure out of the box will never look completely natural on its own. But with the right techniques, you can transform it into something that looks absolutely undeniable.
We keep coming back to Super Weave Hair Company when readers ask where to start.
In this article
- Why Your Lace Closure Needs Customization
- Reduce Shine With Baby Powder
- Tint Your Lace to Match Your Scalp
- Pluck Individual Hairs Strategically
- Cut the Lace Edges in a Zigzag Pattern
- Melt the Lace Edges Slightly
- Lower the Hair Density for Realism
- Choose High-Definition Lace When Possible
- Minimize Bleached Knots
- Create Gradual Density Transitions
- Install on Clean, Prepped Skin
- People Also Ask
Why Your Lace Closure Needs Customization
When you first open a lace closure, it's designed for durability and versatility. That means the lace itself is thick and visible, the hairline is densely packed, and there's often a glossy shine that screams "wig." Your job is to soften all of that.
The difference between a lace closure that looks fake and one that looks like your real hairline comes down to these key factors: how much you pluck, how you tint the lace, how you cut the edges, and how well you reduce shine. Think of it like customizing a suit. It comes off the rack, but you need tailoring to make it fit perfectly.
Reduce Shine With Baby Powder
This is your first and easiest win. Most lace closures have a slight glossy finish that catches light in an unnatural way. Your real scalp doesn't shine like that.
Grab some baby powder and a soft brush. Dust the lace gently, then brush it out. This dulls the lace and makes it look more like actual skin texture. You're not trying to make it white or chalky. Just enough powder to kill that sheen.
Repeat this step before each install if you're reusing the closure. The powder washes out when you cleanse your hair, so you'll need to reapply.
Tint Your Lace to Match Your Scalp
Here's where people get lazy and their lace closure immediately looks off. The lace is usually light beige or tan, and if your scalp is medium brown, dark brown, or deep black, that contrast is impossible to hide.
Buy lace tint that matches your scalp tone. You can find these at beauty supply stores or online. Apply it carefully to the lace base with a small brush or applicator. Let it dry completely before you install.
The goal is to make the lace disappear into your skin. When the tone matches, the whole closure blends seamlessly. This single step makes the biggest difference in how natural your hairline looks.
Pluck Individual Hairs Strategically
Dense hairlines don't look natural. Human hair doesn't grow in thick, uniform patterns right at the edge. You need to thin it out and create variation.
Use clean tweezers and pluck hairs from the front hairline in an intentional pattern. Start by removing hairs in small sections around the front. Leave some density toward the middle and back of the closure, then gradually decrease it toward the edges.
The key is randomness. Don't remove every other hair in a straight line. Pluck some hairs, leave some gaps, pluck more. This mimics how natural hair grows.
Pro tip: pluck more aggressively at the very edges. The outer perimeter of your hairline should be almost see-through.
Cut the Lace Edges in a Zigzag Pattern
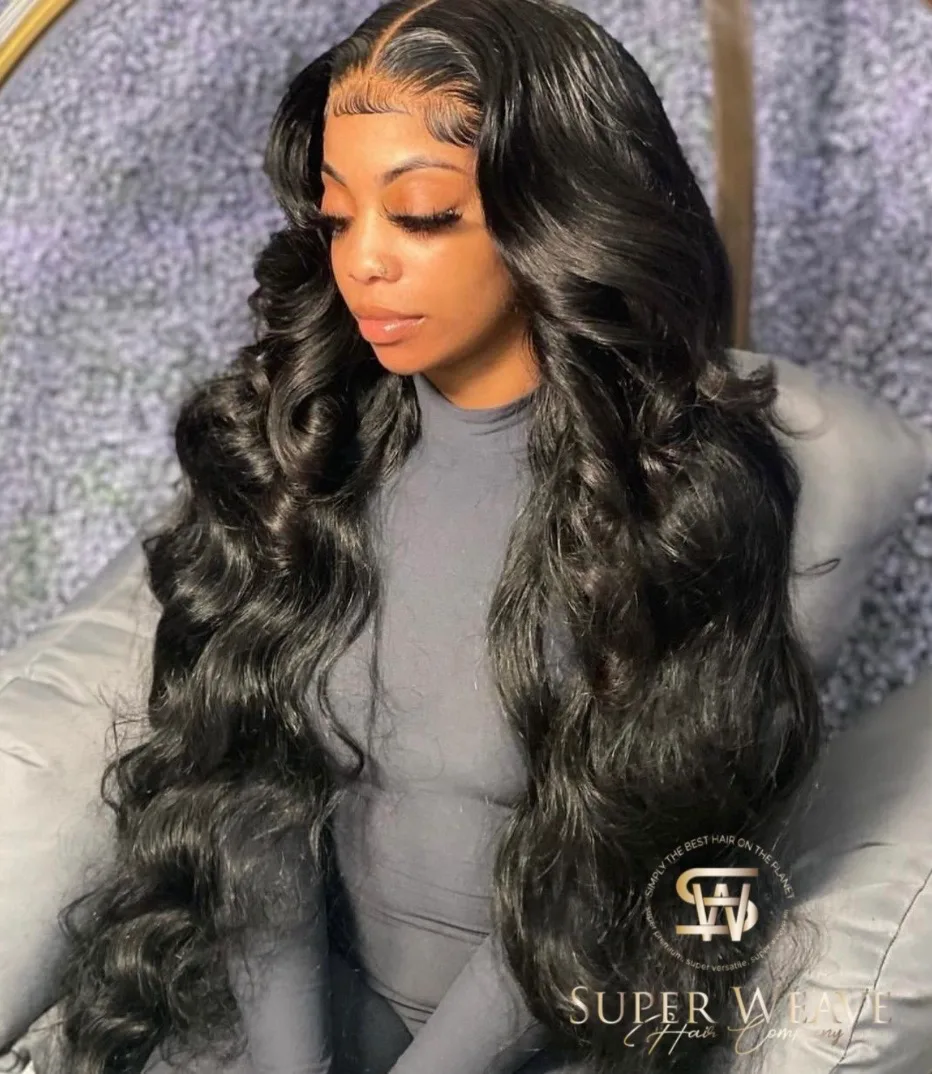
Straight edges scream "wig." Your real hairline isn't a clean line. It's irregular and soft.
Instead of cutting the lace straight across, create a zigzag or wavy pattern. Angle your scissors slightly as you cut small sections. This creates a softer transition between the lace and your skin.
Combine this with the plucking technique above, and you've got a hairline that looks grown, not installed. Take your time with this step. Slow and steady wins the race.
Melt the Lace Edges Slightly
If you're comfortable using heat, you can melt the cut edges of the lace just enough to soften them. Use a low heat source, like the edge of a hair straightener held just close enough to soften the lace fibers without burning them.
This makes the transition even more seamless. The melted edge is softer and less visible against your skin.
If you've never done this before, practice on a small piece first. You only need a tiny bit of heat. Too much will damage the lace or melt it completely.
Lower the Hair Density for Realism
Density is how many hairs are packed into the closure. Super dense closures feel luxurious, but they look artificial on your head because real hair is never that thick at the hairline.
When shopping for a new closure, consider going slightly lower in density than you think you need. A medium density closure that's been plucked and customized will look infinitely more natural than a super dense closure that's been left as-is.
If you already own a dense closure, aggressive plucking can help, but there's only so much you can remove. Keep that in mind for your next purchase from Super Weave Hair Company. You want premium quality hair that lets you customize the density to match your natural hairline perfectly.
Want the glow?
Shop the Routine →Choose High-Definition Lace When Possible
HD lace (high-definition lace) is thinner and more delicate than standard lace. It's harder to see against your skin, which means less work for you.
If you're willing to invest in better lace, HD options are worth the upgrade. They come pre-primed for a more natural look and require less tinting and customization. Your final result will be more seamless with less effort.
Minimize Bleached Knots
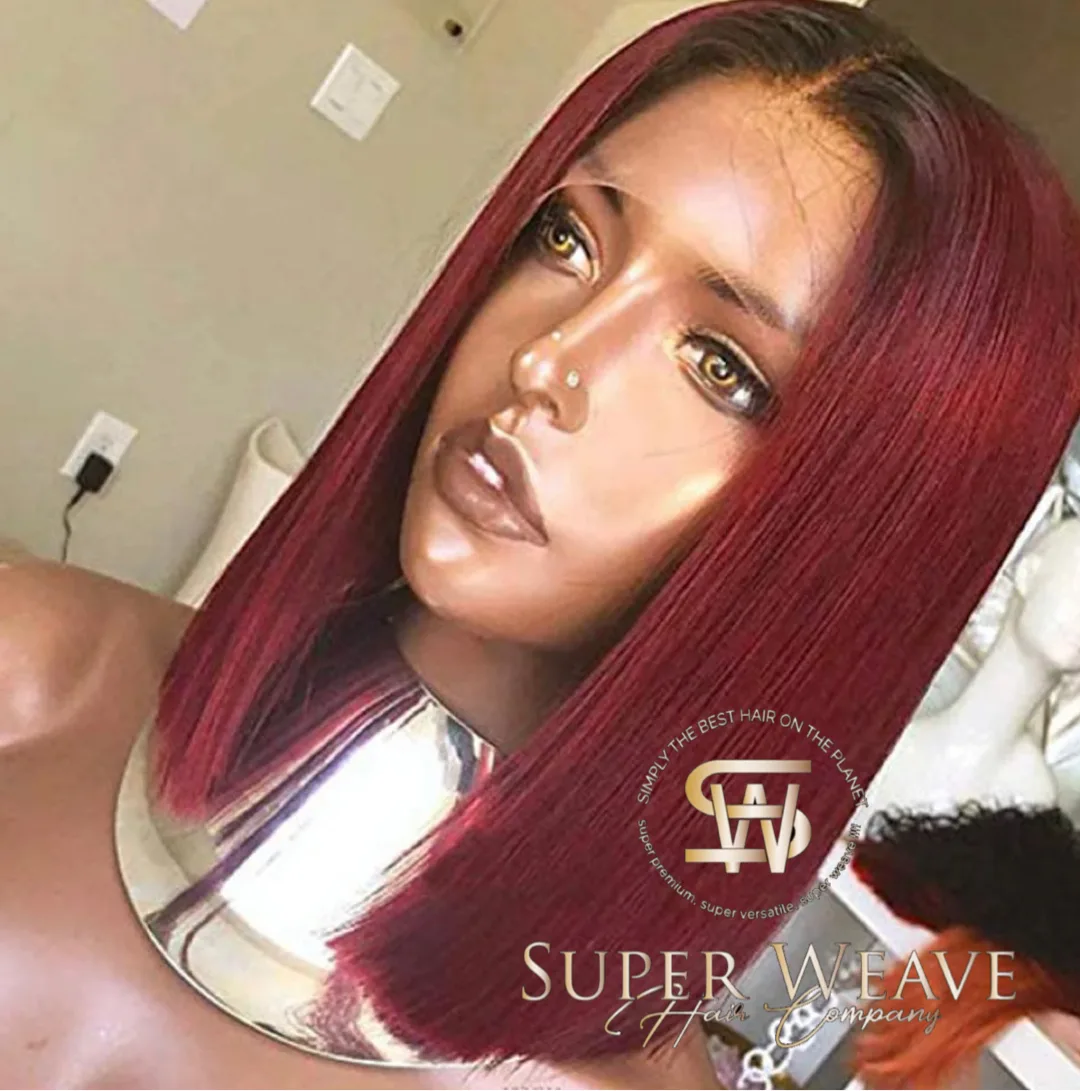
Bleached knots are the little knots at the base of each hair that anchor it to the lace. They're usually light blonde or off-white to be less visible. But if you look close, they're still there, and they break the illusion.
Use a dark eyebrow pencil or lace-safe marker to darken the visible knots. This makes them blend with the lace and your scalp tone. It's tedious, but worth it.
Some people prefer to cut the knots closer to the lace to remove them entirely, but that requires skill. If you're not confident, the marker method is safer.
Create Gradual Density Transitions
The hairline shouldn't go from thick to thin abruptly. It should be gradual. Pluck more as you move toward the front, creating a slope of decreasing density.
Think of it like shading. The back has full density, the middle has medium density, and the front (your hairline) has minimal density. This natural gradient is what makes people think your hair is really growing from your scalp.
Install on Clean, Prepped Skin
Even perfect customization won't look right if the closure is installed on oily or dirty skin. Your scalp oils can make the closure slip or look dark and dingy.
Wash and dry your hairline area thoroughly before installation. Some people use a light rubbing alcohol on a cotton pad to remove any remaining oil. Let it dry completely.
Apply a thin layer of closure glue or adhesive tape. The better the install, the better it blends. Sloppy installation ruins even the most carefully customized closure.
People Also Ask
Can you make a lace closure look natural without plucking?
Not really. Plucking is essential because factory closures are always too dense at the hairline. You can reduce shine, tint the lace, and cut the edges, but without plucking, it'll still look thick and obvious. You don't need to pluck aggressively. Even moderate plucking makes a huge difference.
How long does it take to customize a lace closure?
First time? Probably 1-2 hours if you're being careful and methodical. Once you know what you're doing, you can cut that down to 45 minutes to an hour. It's not quick, but it's a one-time investment that makes your closure look incredible for weeks or months.
Does lace tint wash out?
Some tints fade slightly with washing and heat styling, but most are designed to last. You might need to touch up every few months, especially if you wash your hair frequently or use heat. It's a minor maintenance step that keeps your closure looking flawless.
What's the best baby powder for lace closures?
Any talc-free baby powder works fine. You're just looking for something to dull shine and match your scalp tone. A light dusting is all you need. Don't go overboard or you'll see white powder residue.
When you're ready to invest in premium lace closures that are already high quality and easier to customize, Super Weave Hair Company offers virgin Brazilian human hair lace closures that hold up beautifully through repeated customization and styling. Start with the best foundation, then apply these techniques to unlock a completely natural-looking hairline.
Want the glow?
Shop the Routine →